
Transforming a small bathroom into a stylish, functional space doesn’t have to drain your wallet or demand a complete overhaul. With a thoughtful approach and a bit of creativity, even the most modest bathrooms can be reborn into cozy retreats that reflect your personal taste. In this step-by-step guide, we’ll explore practical, budget-friendly strategies to help you remodel your small bathroom—maximizing space, updating fixtures, and refreshing the look without breaking the bank. Whether you’re tackling the project yourself or simply looking to make smart upgrades, these tips will empower you to achieve a beautiful transformation, one manageable step at a time.
Planning Your Small Bathroom Remodel with Budget-Friendly Goals
When mapping out your bathroom transformation, start by pinpointing what matters most in your space. Prioritize essential updates that will make a tangible difference, like improving storage or refreshing fixtures, without venturing into costly overhauls. Keep your objectives clear and realistic, such as maximizing space efficiency and ensuring every upgrade adds practical value. This focus not only streamlines your project but also helps avoid unexpected expenses that can strain your budget.
To balance style and savings, break down your budget into manageable chunks. Consider categories like:
- Materials and finishes — Choose durable yet affordable options like vinyl flooring or water-resistant paint.
- Labor costs — Decide which tasks you can tackle yourself to reduce expenses.
- Fixtures and fittings — Hunt for deals on essentials such as faucets and lighting.
| Expense Category | Estimated % of Budget | Tips to Save |
|---|---|---|
| Materials & Finishes | 40% | Opt for classic, low-maintenance options |
| Labor | 35% | DIY painting or installation where feasible |
| Fixtures & Fittings | 15% | Shop clearance or off-season sales |
| Contingency | 10% | Keep funds for unexpected surprises |
Choosing Cost-Effective Materials and Fixtures That Maximize Space
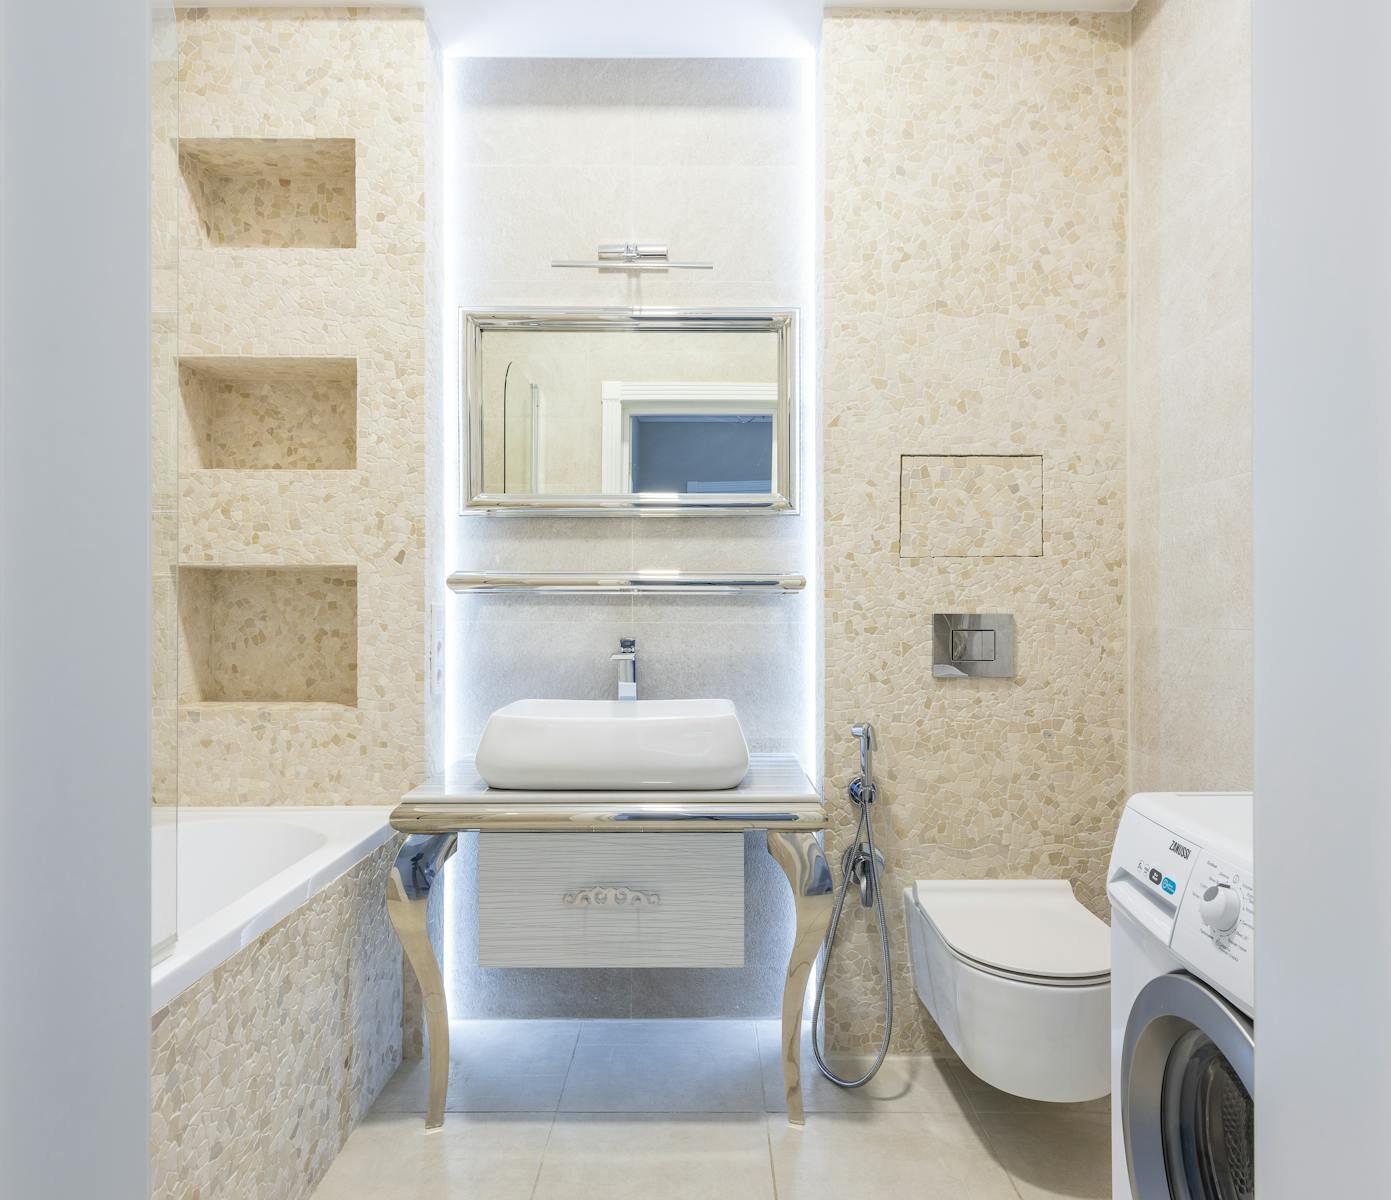
Maximizing space in a small bathroom starts with selecting materials and fixtures that do more than just look good—they need to be practical and budget-friendly. Opt for large-format tiles or large mirrors to create the illusion of more space without breaking the bank. Instead of traditional porcelain sinks, consider wall-mounted or corner models that free up floor area and create a streamlined look. Don’t overlook multi-functional fixtures like a vanity with built-in storage; these clever designs reduce clutter and keep your essentials neatly tucked away.
When choosing materials, durability and maintenance should be front and center. For example, luxury vinyl flooring is an affordable alternative that stands up to moisture and wear while offering a wide range of styles. Below is a quick comparison of popular budget-friendly materials and fixtures, designed to help you make smart decisions without sacrificing style or functionality:
| Material/Fixture | Cost Range | Space Saving Benefit | Maintenance |
|---|---|---|---|
| Large-format Tiles | $2 – $5/sq. ft. | Fewer grout lines, visually enlarges space | Low |
| Wall-mounted Sink | $150 – $400 | Frees floor space for mobility | Moderate |
| Luxury Vinyl Flooring | $1.50 – $4/sq. ft. | Water-resistant, easy fit in small areas | Low |
| Vanity with Storage | $200 – $600 | Combines sink and storage, reduces clutter | Moderate |
Creative Storage Solutions to Enhance Functionality Without Overspending
Another innovative hack is to use the vertical space behind the door or above the toilet for storage. Hooks or racks designed for towels and robes can be installed here without interfering with bathroom flow. For even more versatility, try a small rolling cart that fits into narrow spaces, doubling as both storage and a movable vanity station. Below is a simple comparison of affordable storage options that add both style and utility:
| Storage Type | Cost | Space Saved | Ease of Installation |
|---|---|---|---|
| Floating Shelves | Low | High | Moderate |
| Magnetic Strips | Very Low | Medium | Easy |
| Over-the-Door Hooks | Low | Medium | Easy |
| Rolling Cart | Medium | Variable | None |
Step by Step Guide to Painting and Finishing Touches for a Fresh Look
Begin by preparing your bathroom surfaces meticulously. Clean walls and fixtures with a mild detergent and sand them lightly to promote better paint adhesion. Protect areas you don’t want painted with painter’s tape and drop cloths to keep your work neat. Opt for light, neutral paint colors to create the illusion of more space while reflecting natural light. Use a mildew-resistant, semi-gloss paint that stands up to humidity and frequent cleaning. A good tip is to invest in quality brushes and rollers to achieve smooth, even coats without unnecessary brush strokes or drips.
Once the paint dries, focus on those finishing touches that make a real difference. Installing new hardware, such as brushed nickel or matte black faucets and drawer pulls, immediately freshens up the look without breaking the bank. To add personality and a bit of charm, consider peel-and-stick wallpaper or decals on one wall or a section for a modern twist. Finally, seal any wooden surfaces or trim with a clear polyurethane finish to protect your fresh paint job from moisture, ensuring a long-lasting, beautiful appearance.
The Way Forward
Remodeling a small bathroom on a budget doesn’t have to be daunting. With thoughtful planning, a splash of creativity, and a step-by-step approach, you can transform even the tiniest space into a functional and stylish retreat without breaking the bank. Remember, every penny saved and every detail considered adds up to a bathroom that feels fresh, personal, and perfectly crafted to your needs. So roll up your sleeves, embrace the process, and enjoy the rewarding journey of turning your small bathroom dreams into reality—one affordable step at a time.