
Your bathroom vanity is more than just a functional fixture—it’s a centerpiece that sets the tone for your entire space. But what if transforming this key element didn’t mean breaking the bank or booking a contractor for weeks? This weekend, you can elevate your bathroom’s style and utility with simple, budget-friendly upgrades that breathe fresh life into your vanity. Whether you’re craving a modern refresh or a rustic charm, we’ll guide you through practical steps to achieve a stunning makeover without the sticker shock. Ready to roll up your sleeves and turn your bathroom into a small sanctuary? Let’s get started!
Choosing Affordable Materials That Look High End
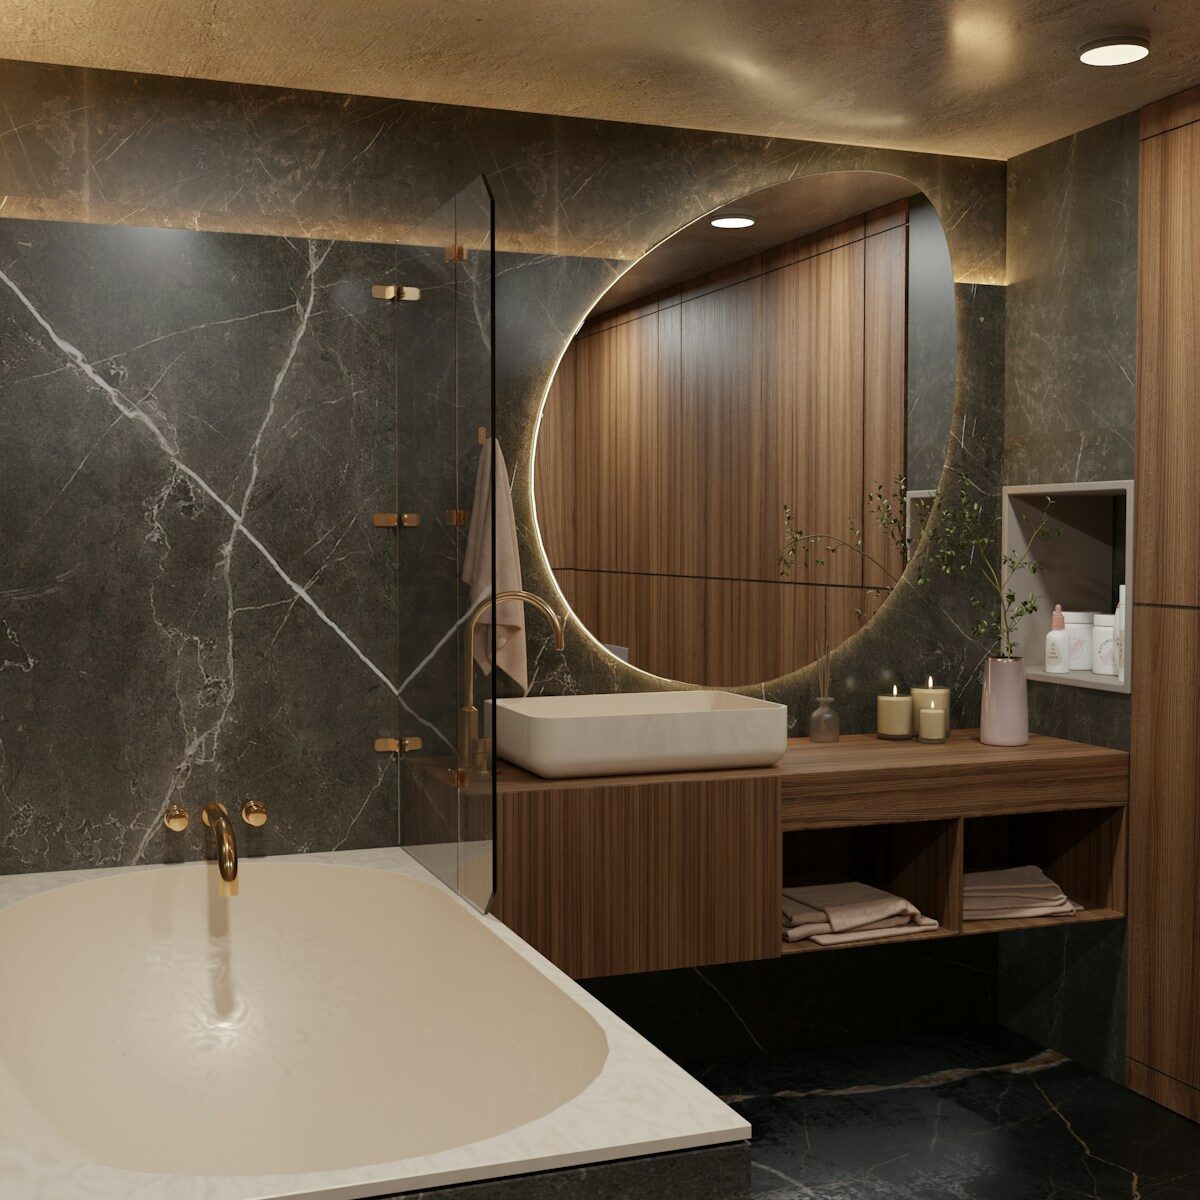
When it comes to upgrading your bathroom vanity, striking the perfect balance between style and cost is key. You don’t need to splurge on expensive materials to achieve a luxurious look. Opt for materials like satin-finish laminate that mimic the sleekness of natural wood or stone but come at a fraction of the price. Another affordable gem is engineered quartz, which offers durability and elegance without the hefty price tag of marble. Pair these with brushed nickel or matte black hardware for a modern, high-end vibe without breaking the bank.
Choosing the right materials can also streamline your project, saving you both time and labor costs. Here’s a handy guide comparing popular affordable materials for vanities:
| Material | Look | Durability | Cost |
|---|---|---|---|
| Laminate | Woodgrain, Stone | Moderate | $ |
| Engineered Quartz | Glossy Stone | High | $$ |
| Solid Surface | Matte, Smooth | High | $$ |
| Poplar Wood | Painted Finish | Moderate | $ |
- Tip: Use high-gloss paint finishes to elevate affordable wood materials.
- Tip: Mixing textures, such as a matte countertop with glossy cabinetry, creates depth and sophistication.
- Tip: Adding decorative molding or trim can transform basic materials into statement pieces.
DIY Painting and Refinishing Tips for a Professional Finish
Optimize your refinishing with these expert tips:
- Choose a moisture-resistant paint designed for bathrooms to avoid peeling in humid conditions.
- Use a high-density foam roller for smooth cabinets and a fine brush for corners and detailed trim.
- Allow ample drying time between coats—rushing can cause bubbles or streaks.
- Seal your project with a clear polyurethane topcoat for extra durability and a polished look.
| Step | Recommended Tools / Products | Purpose |
|---|---|---|
| Surface Prep | Degreaser, Fine-grit sandpaper (220 grit) | Clean & smooth surface |
| Priming | High-quality bonding primer | Ensure paint adhesion |
| Painting | Moisture-resistant paint, Foam roller, Detail brush | Even, durable finish |
| Sealing | Clear polyurethane topcoat | Protect & enhance gloss |
Smart Storage Solutions to Maximize Space and Style
Transform your bathroom vanity into a sleek storage haven by incorporating multi-functional organizers that blend seamlessly with your décor. Think beyond traditional drawers and shelves—use decorative baskets tucked under the sink for towels or daily essentials, and install magnetic strips on the sides of the vanity for holding metal tools like tweezers or nail clippers. Floating shelves above the vanity offer a stylish display spot for fancy soaps or small potted plants, adding both utility and a touch of greenery. Maximizing vertical space not only declutters your countertop but also elevates the overall aesthetic of your bathroom, making it feel larger and more inviting.
Consider mixing various storage options to keep everything neatly in its place:
- Stackable bins: Keep makeup and skincare products sorted without eating up drawer space.
- Pull-out trays: Access hard-to-reach items effortlessly and maintain order.
- Door-mounted racks: Utilize the inner vanity doors for extra storage of cleaning supplies or hair tools.
| Storage Solution | Best Use | Styling Tip |
|---|---|---|
| Stackable Bins | Small toiletry organization | Choose clear or neutral colors |
| Pull-out Trays | Deep drawers and lower shelves | Add non-slip liners |
| Magnetic Strips | Metal grooming tools | Conceal with decorative covers |
Budget-Friendly Hardware Upgrades That Transform Your Vanity
To make your hardware shopping easier and more budget-friendly, consider these cost-savvy tips:
- Shop discount and clearance sections: Many home stores offer quality hardware at deeply reduced prices.
- Mix and match: Combine different styles or finishes to create a custom look without buying a full set.
- Use adhesive hardware for a no-drill option: Great for renters or those wanting to avoid holes.
| Hardware Type | Average Price | Style Example |
|---|---|---|
| Knobs | $2 – $8 each | Round brass, ceramic |
| Pulls | $5 – $15 each | Bar style, cup pulls |
| Adhesive Hooks | $3 – $7 pack | Matte black, brushed nickel |
Closing Remarks
Upgrading your bathroom vanity doesn’t have to drain your wallet or stretch over weeks. With a little creativity, some smart shopping, and a weekend’s worth of effort, you can transform your space into a stylish and functional retreat without breaking the bank. Remember, the key is in the details—fresh hardware, a splash of paint, or a DIY countertop can make all the difference. So roll up your sleeves, gather your tools, and get ready to enjoy a bathroom that feels brand new, all accomplished within a budget and timeframe that work for you. Happy renovating!