How to Add Attic Insulation Yourself: The Most Cost-Effective Energy Upgrade Available
The Department of Energy estimates adding attic insulation is the single highest-return energy efficiency investment available to most homeowners. The average American home has attic insulation at R-19 to R-22 when recommendations call for R-38 to R-60. That gap is why heating and cooling bills are higher than they need to be. Professional attic insulation costs $1,500 to $3,000. Doing it yourself with blown-in insulation costs approximately $500 in materials and an afternoon of work.
The Blown-In Rental Program
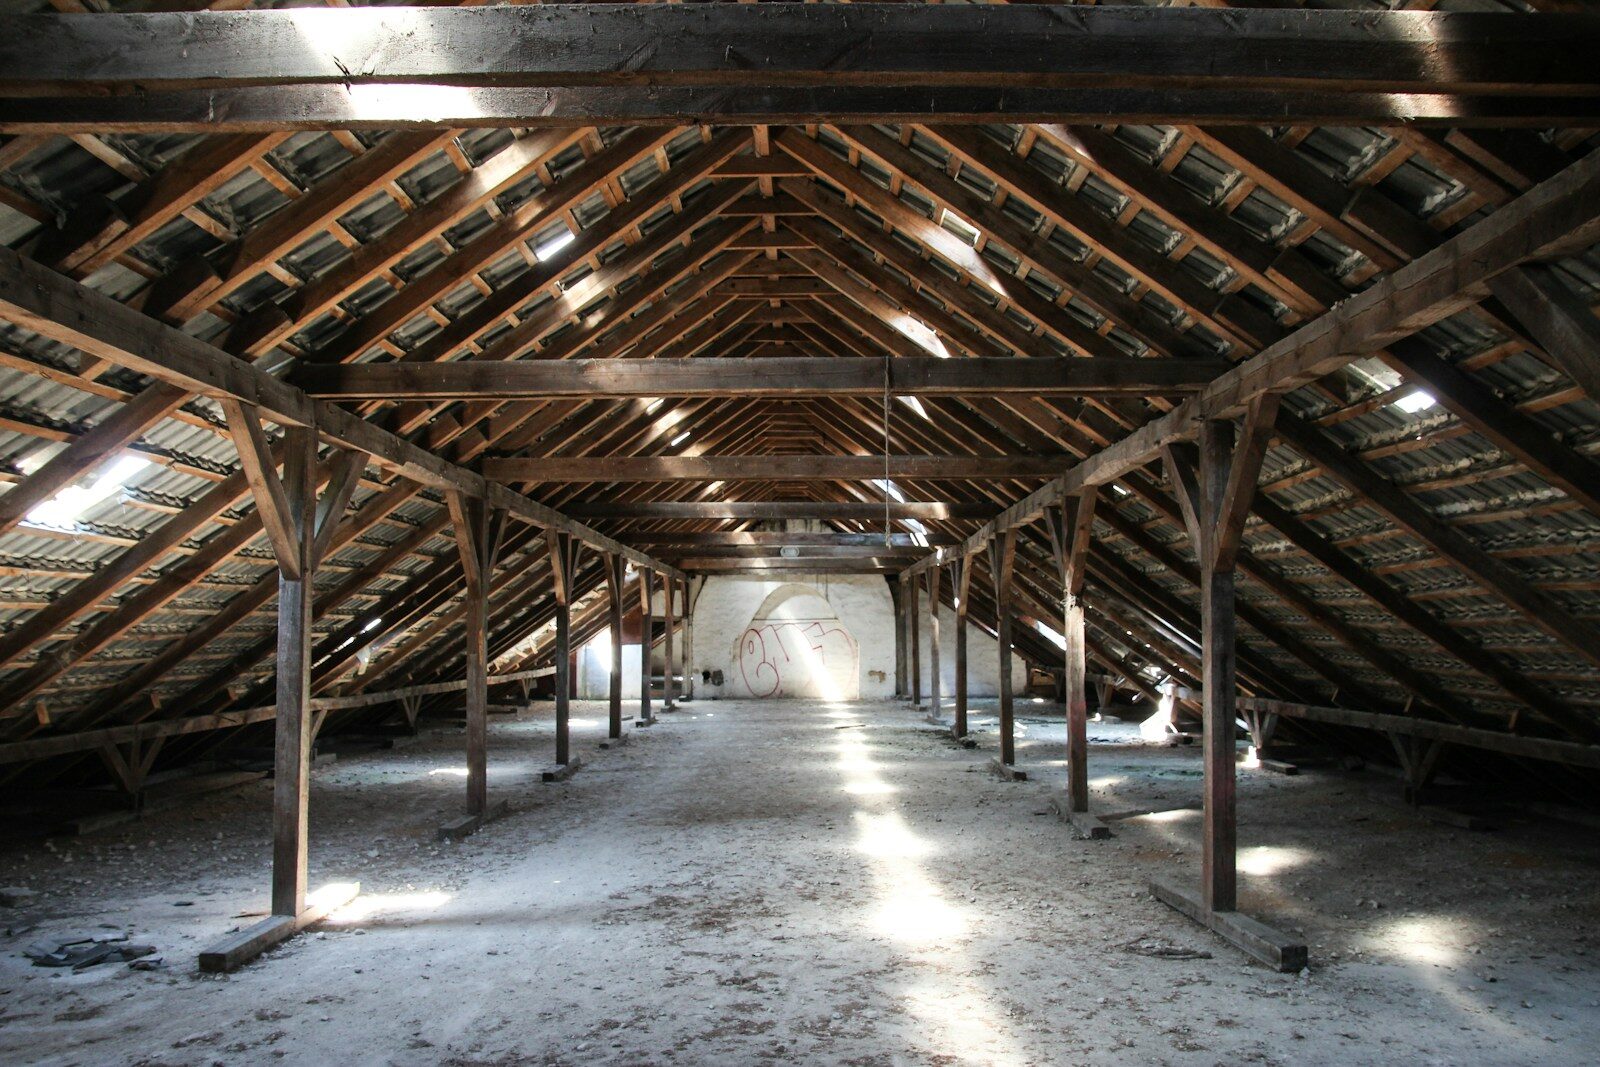
Home Depot and Lowe’s both offer programs where buying a specified number of bags of blown-in insulation — typically twenty bags or more — entitles you to free rental of the blowing machine. One person feeds bags into the hopper from the attic hatch while a second person in the attic directs the hose. The work is dusty — a proper N95 respirator, eye protection, old clothing, and work gloves are essential. Budget four to six hours for a typical 1,200-square-foot attic.
Air Seal Before You Insulate
Adding insulation over unsealed air bypasses reduces effectiveness and can create moisture problems. Before adding insulation, air-seal the ceiling penetrations you can see from the attic: around recessed lights, at wall top plates, around the attic hatch, and around all plumbing and electrical penetrations. Use expanding foam sealant for gaps and caulk or foam board for larger openings. This step matters more than the insulation itself for reducing heat loss.
Depth and Distribution
Look up your climate zone’s recommended R-value at EnergyStar.gov. In most of the continental US, R-38 to R-49 is appropriate, corresponding to approximately 10 to 14 inches of blown-in material. Use depth marker sticks pushed into the existing insulation at regular intervals. Work from the far corners back toward the attic hatch, keeping the hose near the floor to prevent piling up in one location.